If you're looking to learn how to bake bread, these make bread beginner tips are exactly what you need! Bread-making can seem intimidating, but don't worry - it's a skill that anyone can learn. With just a little bit of patience and practice, even home cooks can develop exceptional talent in the art of baking bread.
Over the past week, we've been uncovering some essential bread baking knowledge through firsthand experience. As we worked on perfecting our techniques, the delightful kitchen smell of fresh baked bread filled the air. Now, we want to share with you what we've learned and provide you with some valuable tips to help you improve your own bread-baking skills.
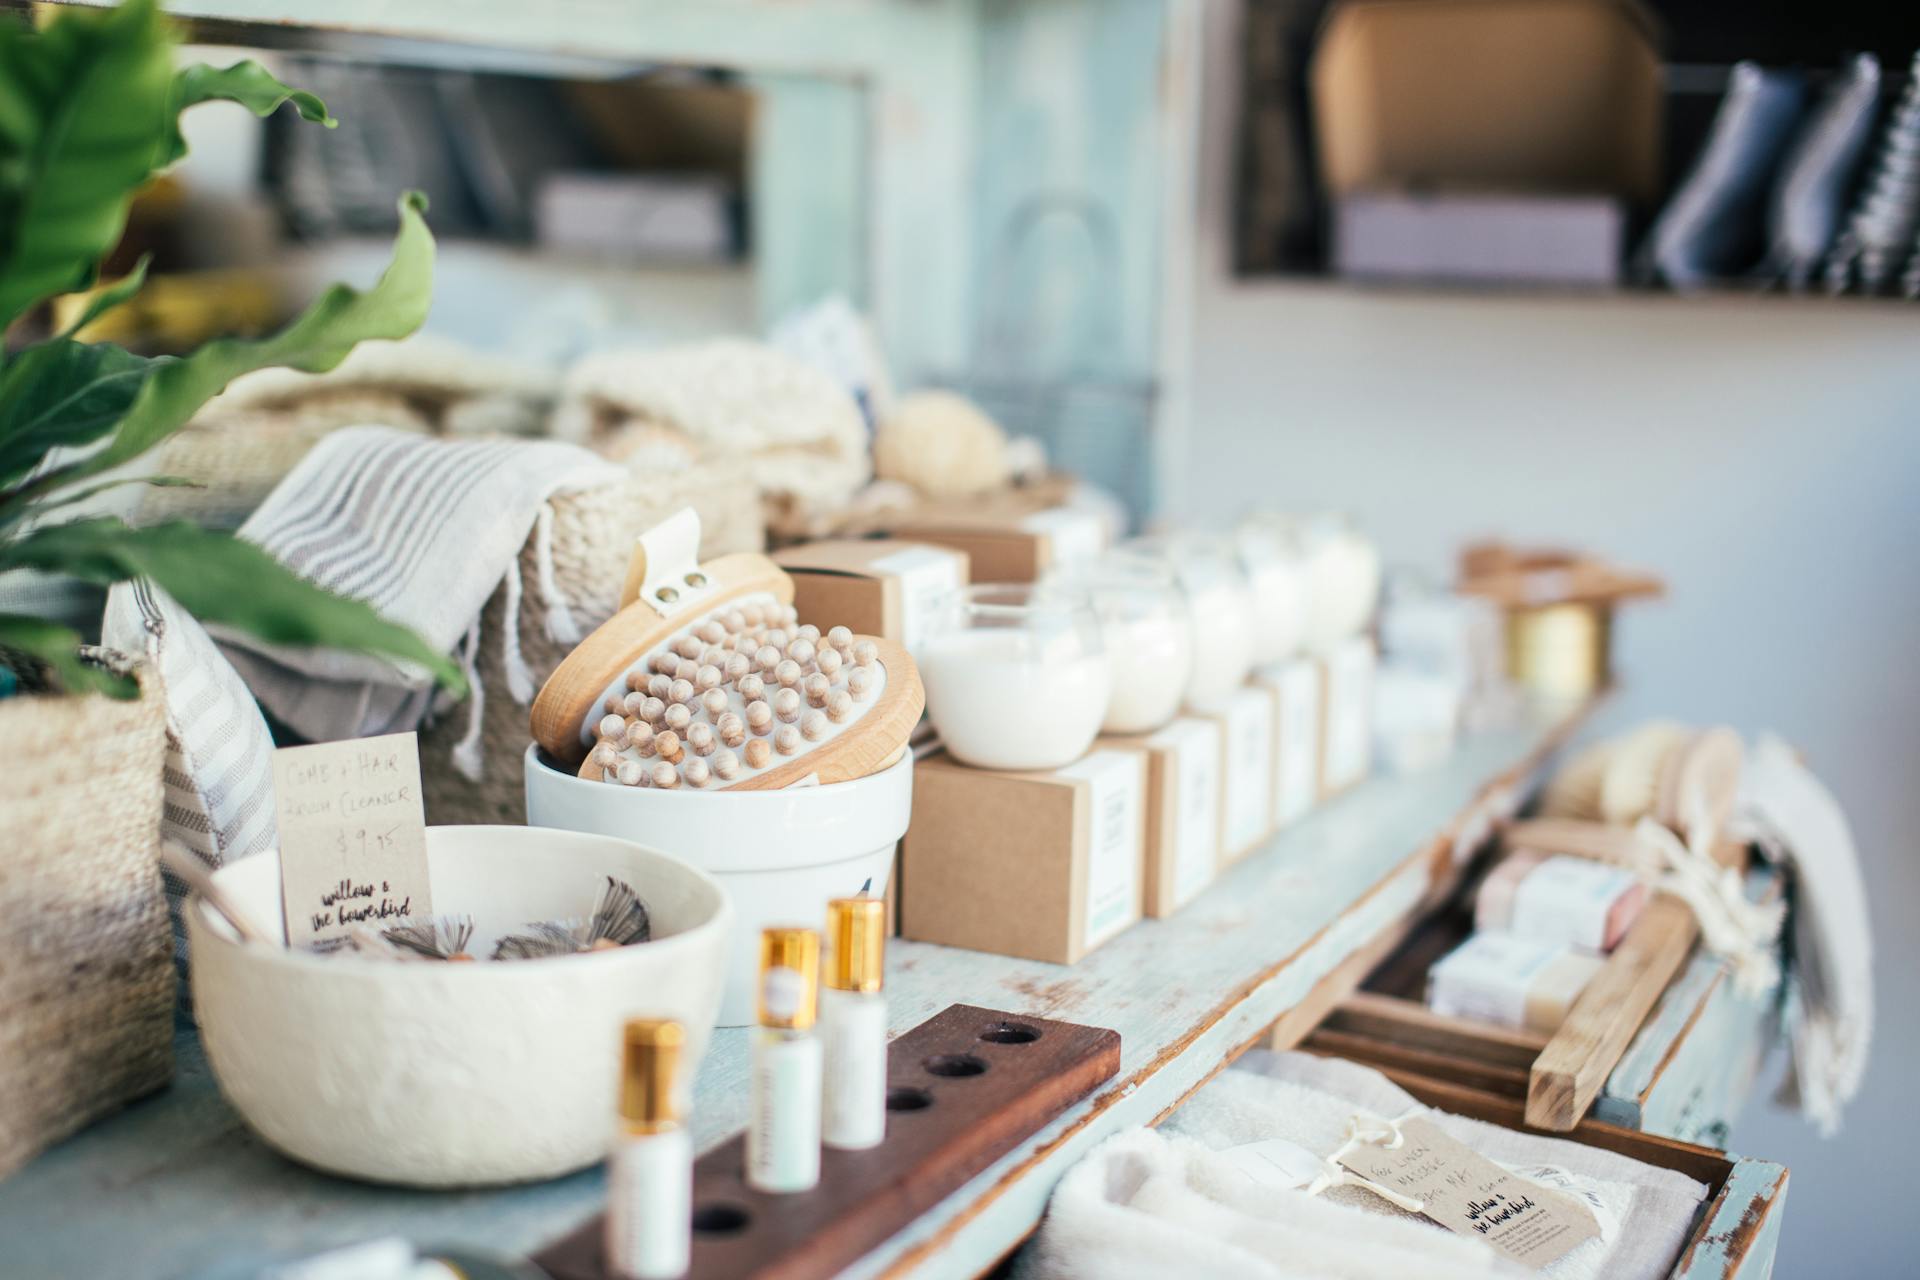
If you're just starting out, we suggest jumping right in and getting started with some basic recipes. Having the right tools is also an essential part of your bread baking experience - invest in an accurate scale for measuring ingredients and use perfect measurements recipe guidance for consistent results every time.
An Essential Tool for Perfect Measurements: Recipe Guidance
When it comes to making bread, using a recipe is an essential tool for perfect measurements. A simple bread recipe may only require flour, yeast, water, and salt measurements, but the ratios can vary depending on the type of bread being made. Expert sources provide guidance on not only the ingredients but the techniques involved in creating a successful loaf. Just as one would follow a salad dressing recipe to make things taste just right, following a bread recipe will ensure that your flour water yeast combination turns into a delicious and satisfying final product.
Essential Equipment That You Must Have
When it comes to making bread, having the right tools is essential. A large mixing bowl and wooden spoon are necessary for combining ingredients and creating a consistent dough. A metal dough scraper is helpful for removing sticky leftover dough from your work surface, while a plastic bowl scraper can come in handy for getting every last bit out of your mixing bowl. Having these tools will make bread-making much easier and more enjoyable!
Transforming Bread Dough into a Delicious Baked Treat

Making homemade bread is a fun and rewarding experience, but it takes time and practice learning the proper techniques. The first step in making bread is to prepare the bread dough. After mixing all of your ingredients, knead the dough on a floured board for 10 minutes. Then, shape it into a ball and place it in a buttered bowl to let the dough rise in a warm draft-free spot for 1 hour.
Next, after the hour of rise called proofing has passed, punch down the dough and shape it into your desired form on a surface floured with flour. Let the dough rise for another 30 minutes before baking it in a greased bread pan. Helpful tips include placing the pan in a drafty place or cool oven to allow proper rise preheat to 375.
Finally, once your bread has finished baking for 45 minutes or until golden brown, remove it from the oven and let cool completely on a clean dish towel. Use a sharp knife to cut slices carefully as needed. Remember that every step controls how much your bread expands so be mindful of each one! With these simple instructions, you can transform bread dough into delicious baked treats that are sure to impress!
1. How to Store and Freeze
Once your homemade bread has cooled, the first step is to store it properly. You can store cooled homemade bread at room temperature for up to 4 days in a well-sealed plastic bag. If you want to freeze your bread for longer-term storage, use freeze wrap or foil labeled with the date of freezing and store it in the freezer for up to 6 months. For short-term freezer storage, you can also place the bread in a plastic bag and freeze it for up to 1 month. Proper storage will ensure that your bread stays fresh and delicious for as long as possible.
2. Why Didn't My Bread Rise?
Baking bread can be a bit tricky, especially for beginners. One common problem that you may encounter is the failure of your bread to rise. There are several reasons why this happens, and one of them is bad yeast. Yeast is responsible for making your dough rise, and if it's not good, then your bread won't rise either. Another reason could be that you're not buying yeast frequently enough. Yeast has a shelf life, and if it's expired or close to its expiration date, then it won't work well.
To avoid these problems, make sure to test yeast before using it in your recipe. This will ensure that it's still active and will do its job properly. You can do this by mixing a teaspoon of yeast with warm water and sugar and waiting for 5-10 minutes for bubbles to appear on the surface. If there are no bubbles or very few, then the yeast is probably bad or inactive, and you need to buy a new one.
In conclusion, there are several reasons why your bread didn't rise, but most of them involve bad yeast. To avoid this problem in the future, make sure to buy fresh yeast regularly and test it before using it in your recipes. Baking bread requires patience and practice, so don't get discouraged if your first attempt doesn't turn out perfectly. Keep trying until you master the art of baking delicious homemade bread!
3. Which Flour Is the Best for Bread?
If you enjoy baking bread, then you know that selecting the right type of flour is crucial for a perfect loaf. The two most common types stocked in an average kitchen are all-purpose flour and bread flour. While both can be used interchangeably in some bread recipes, there are a few differences between them that can affect the taste and texture of your bread.
Bread flour is the best option when it comes to making bread. It has a higher protein content than all-purpose flour, which gives it more gluten-forming potential, resulting in a chewier and more elastic dough. On the other hand, all-purpose flour has less protein than bread flour, making it ideal for cakes, pastries, and other baked goods that don't require as much structure. However, if you only have all-purpose flour on hand and want to make bread, fear not! You can still get great results by adding vital wheat gluten to your recipe in equal measurements or by using a combination of all-purpose and whole wheat flours. By choosing the right type of flour for your recipe, you'll be well on your way to making delicious tasting bread!
4. Can Butter Be Used as a Substitute for Vegetable Shortening?
Substituting butter for vegetable shortening in bread recipes is a common question among beginners. The general recommendation is that you can substitute butter for vegetable shortening, but keep in mind that the texture and flavor of the bread may be affected.
When using butter as a substitute, it requires 1 tablespoon more than the amount of vegetable shortening called for in the recipe. For example, if the recipe calls for 1/4 cup of vegetable shortening, you would need to use 5 tablespoons of butter.
It's important to note that substituting butter for vegetable shortening can result in a slightly different texture and flavor. Butter has a lower melting point than shortening, which means it may not hold its shape as well during baking. To be on the safe side, cut your butter stick just a tiny bit bigger than what you need to ensure you're getting enough fat in your dough.
5. How Do I Store Bread to Keep it Fresh?
Storing your homemade bread or store-bought bread generally is important to make sure it stays fresh for longer. One way to do this is by keeping it at room temperature in a bread box, paper bag, or airtight container. Homemade bread will typically last for about 3 days when stored this way. If you want to keep it for longer, you can freeze loaves and thaw them perfectly when needed.
Get Your Baked Goods Ready: Preparing Baking Tins and Trays
Preparing your baking tins and trays properly is a crucial step in spending hours making the perfect bread. Choosing the right tin or tray can make all the difference between a successful bake or potential damage to your shaped dough. Luckily, preparing them for use is a simple process that can stop bread from sticking and ensure an even bake.
For bread tins, rub a small amount of softened butter onto the interior of the tin leading up to the elaborate lip. Alternatively, you can use baking parchment for extra protection. If you choose bread tins with a non-stick coating, simply slide your shaped dough in without any added prep.
Baking trays require less work than bread tins. To prepare your tray, again use baking parchment for extra protection. Alternatively, sprinkle a small amount of flour onto the tray before placing your dough on top. By following these simple steps, you're ensuring that your baked goods are set up for success!
Keep Flour Handy: Tips for Working with Sticky Dough
When making bread, it's common to encounter sticky dough. This can be frustrating, especially if you're a beginner. However, there is a simple solution: keep flour handy. Sprinkle some flour on your hands or working surface to prevent the dough from sticking too much. You can also add small amounts of flour to the dough while kneading until it reaches the right consistency. A well-floured dough will be easier to handle and shape, leading to a better end result. So remember, always keep flour handy when working with sticky dough!
Frequently Asked Questions
What makes bread good?
Good bread is made from high-quality ingredients, including flour, water, yeast, and salt. It should also have a crispy crust and a soft, airy interior with a pleasant flavor and texture.
Can you make bread without a recipe?
Yes, it is possible to make bread without a recipe by using your intuition and experience in baking. However, having a basic understanding of the ingredients and techniques will greatly improve your chances of success.
Should I increase the water in my bread dough?
It depends on the recipe and the desired texture of your bread. Adding more water can result in a softer, moister crumb, but too much can make the dough difficult to handle and affect the final outcome. Always follow the instructions carefully and make adjustments based on experience.
What tools do you need to make bread?
To make bread, you will need a mixing bowl, measuring cups and spoons, an oven, and a baking sheet or loaf pan. Optional tools include a stand mixer or bread machine.
How do you knead bread dough?
To knead bread dough, firstly dust the surface with flour and place the dough on it. Use the heel of your hand to push down and fold the dough repeatedly until it becomes smooth and elastic.
Featured Images: pexels.com